How to purchase digital products with Overflo
Step 1: Purchase the NFT on storefront just like you would any other product. Enter billing information follow the steps to proceed through checkout

Step 2: After purchase is completed, check your inbox for an email with instructions on how to claim your NFT. This email will be from “info@niftybridge.io” so make sure to check spam or allow emails from the above address if it does not show up in your inbox initially. Once you find it, click on the “Claim NFT” button to be directed to the wallet entry page.
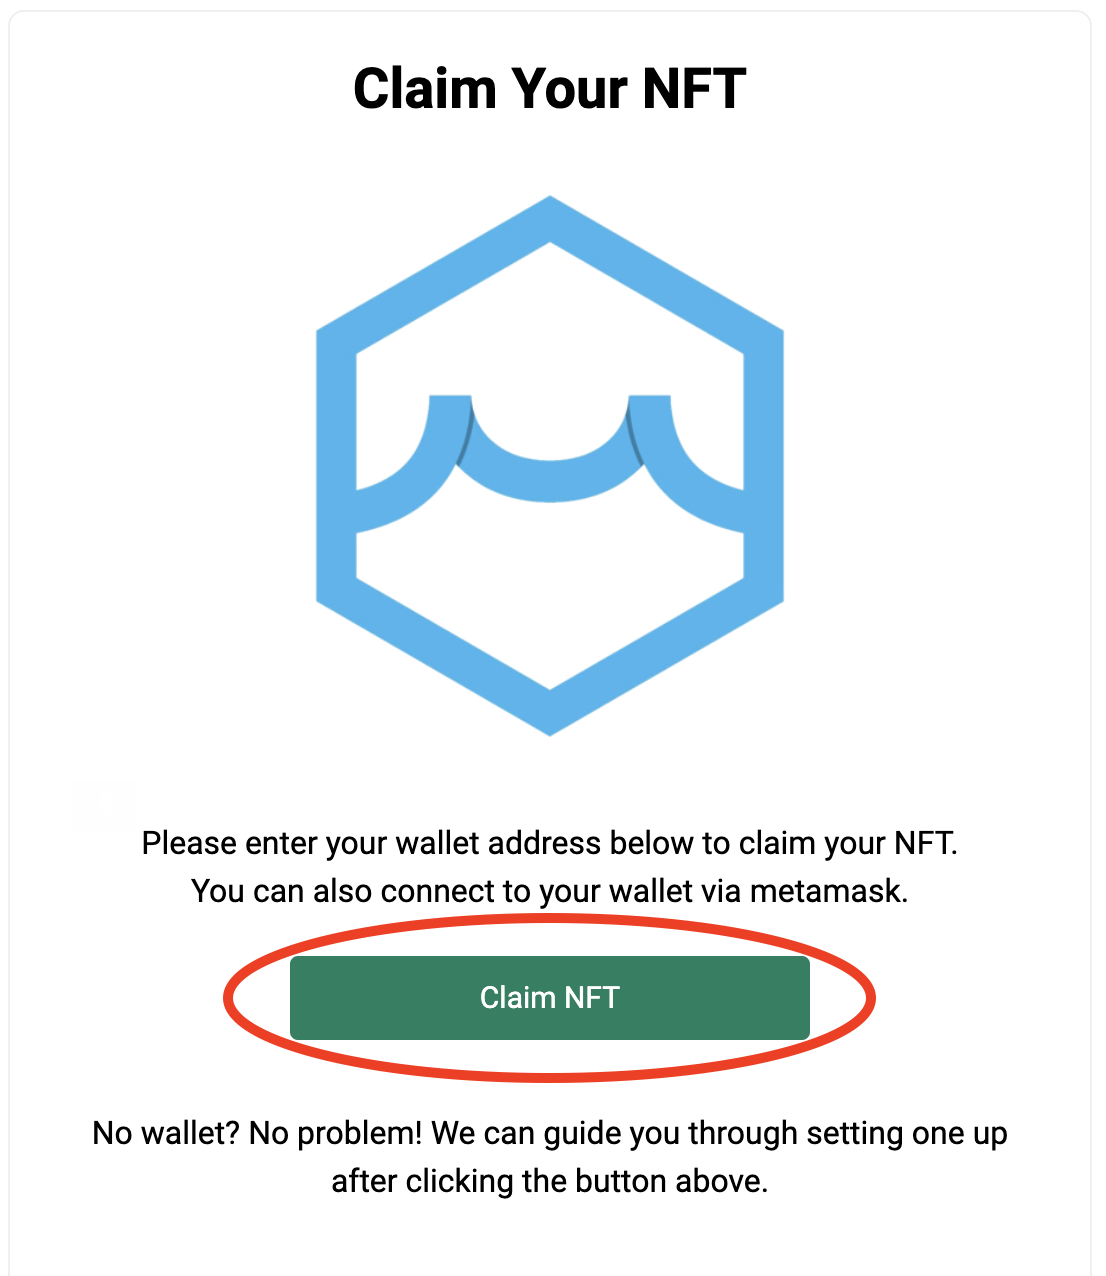
Step 3: If you already have a wallet you can skip straight to step 4. If you do not, you will need to create one. We highly recommend creating one with MetaMask because they will be the easiest to view and manage your NFTs long term. However, you can also use any wallet that accepts Ethereum.
If you choose to create a wallet via MetaMask, click on the “Connect to Metmask” button and you will be taken to their website to either install the browser extension (desktop) or mobile application (mobile). Follow the onboarding instructions carefully and if you want more assistance please see this article which goes through step by step of the process once the extension/app is downloaded.
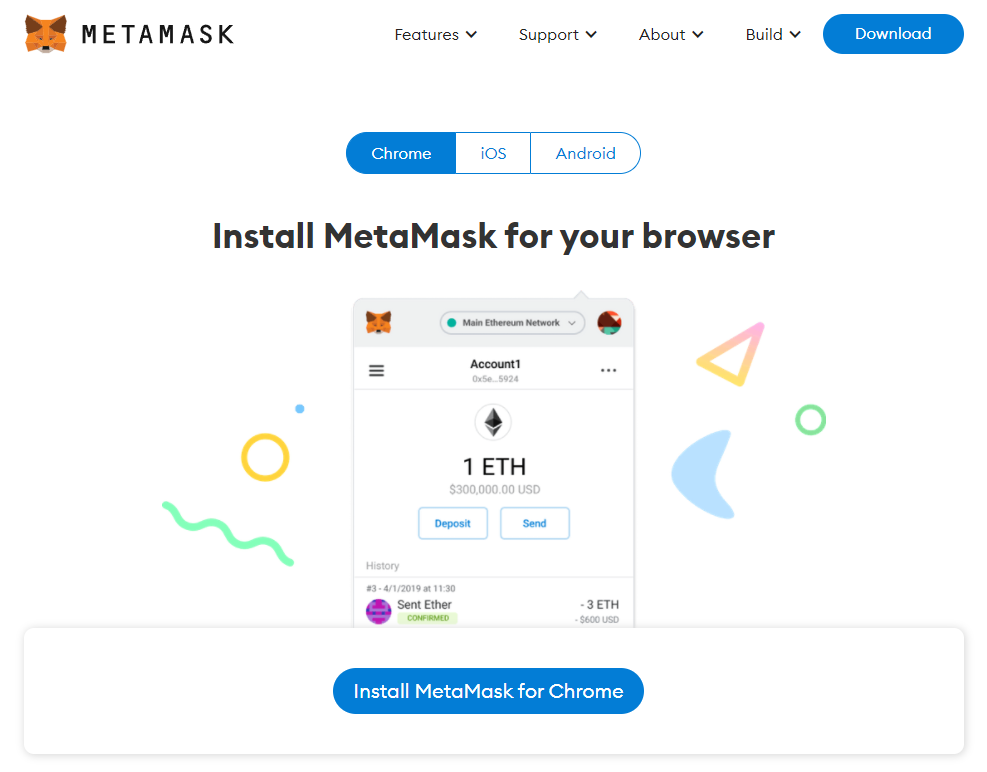
PLEASE NOTE: If you choose to use a wallet other than MetaMask, you may not be able to view the NFT or transfer it off of that wallet in the future. For this reason, we strongly recommend you store on a wallet that supports NFTs. For more wallet options please see this article.
Step 4: Once you have a wallet set up, return to the NFT claim page to enter your wallet address.
For MetaMask wallets: select the “Connect to MetaMask” button and click “sign” when prompted by MetaMask for approval.
For all other wallets, copy your ETH address from the wallet and paste it into the Wallet Adress box. Then click Submit.
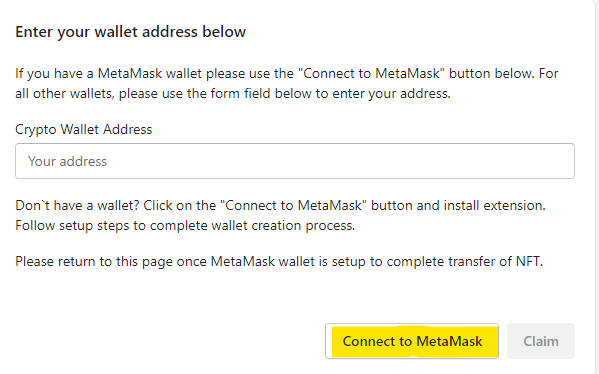
You should see a confirmation screen that the wallet entry was successful if done correctly.
Step 5: Check inbox for confirmation email confirming the transfer has been completed successfully. This process can take several hours depending on the amount of transfers happening at once so do not worry if it takes a bit of time.
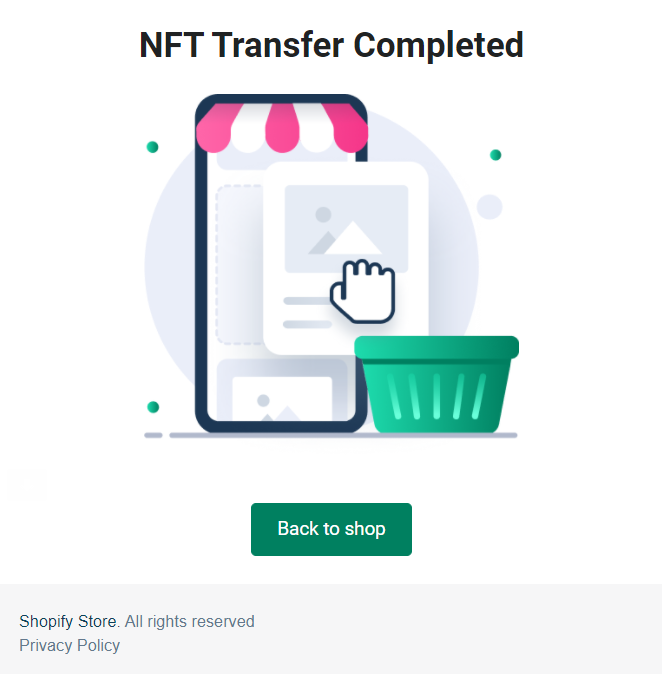
Congratulations! You now own the NFT and can view the transaction on the blockchain by visiting a block scanner and entering your wallet address.
Step 6 (Optional): Navigate to OpenSea.io and connect your wallet to set up your name and view your NFT. You can also change your floor price and sell the NFT if you wish. For instructions on setting up your OpenSea account please see this article and skip to the third step.
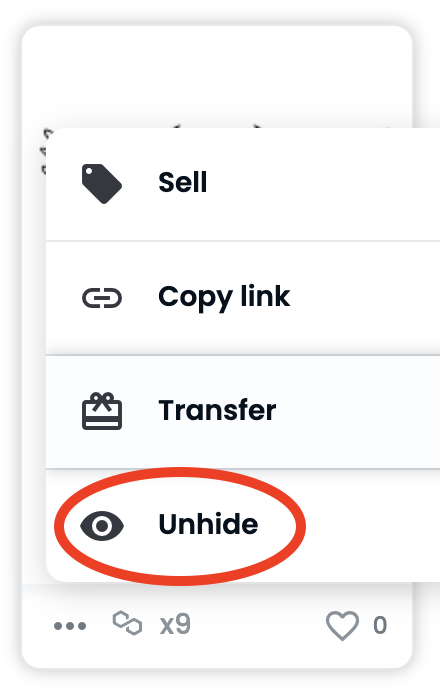
*PLEASE NOTE: OpenSea will sometimes hide the NFT from your wallet when you first create the account. If your NFT is not showing on your account, you may need to “unhide” it first. To unhide an NFT, navigate to the hidden section of your account.

Then select the three dots on your NFT and click the unhide option. Then hit “unhide” at the bottom right of your screen to complete the process.
%20(1).png)
